
At a glance
Swipe to compare all columns.
| Review area | Bring to the discussion | Decision to record |
|---|---|---|
| Nozzle cut-off and viscosity | Liquid sample, viscosity profile and temperature conditions | Anti-drip suck-back, inlet selection and hopper level control |
| Pre-seal liquid clearance | Sachet drawing, target dose and film roll stock | Free-space bag length or squeeze-roller stripping arrangement |
| Cross-seal integrity | Sealant layer details and inspection method | Hot-tack balance, jaw serration pressure or ultrasonic sealing |
Start with sachet seal geometry, fill-height clearance and nozzle cut-off
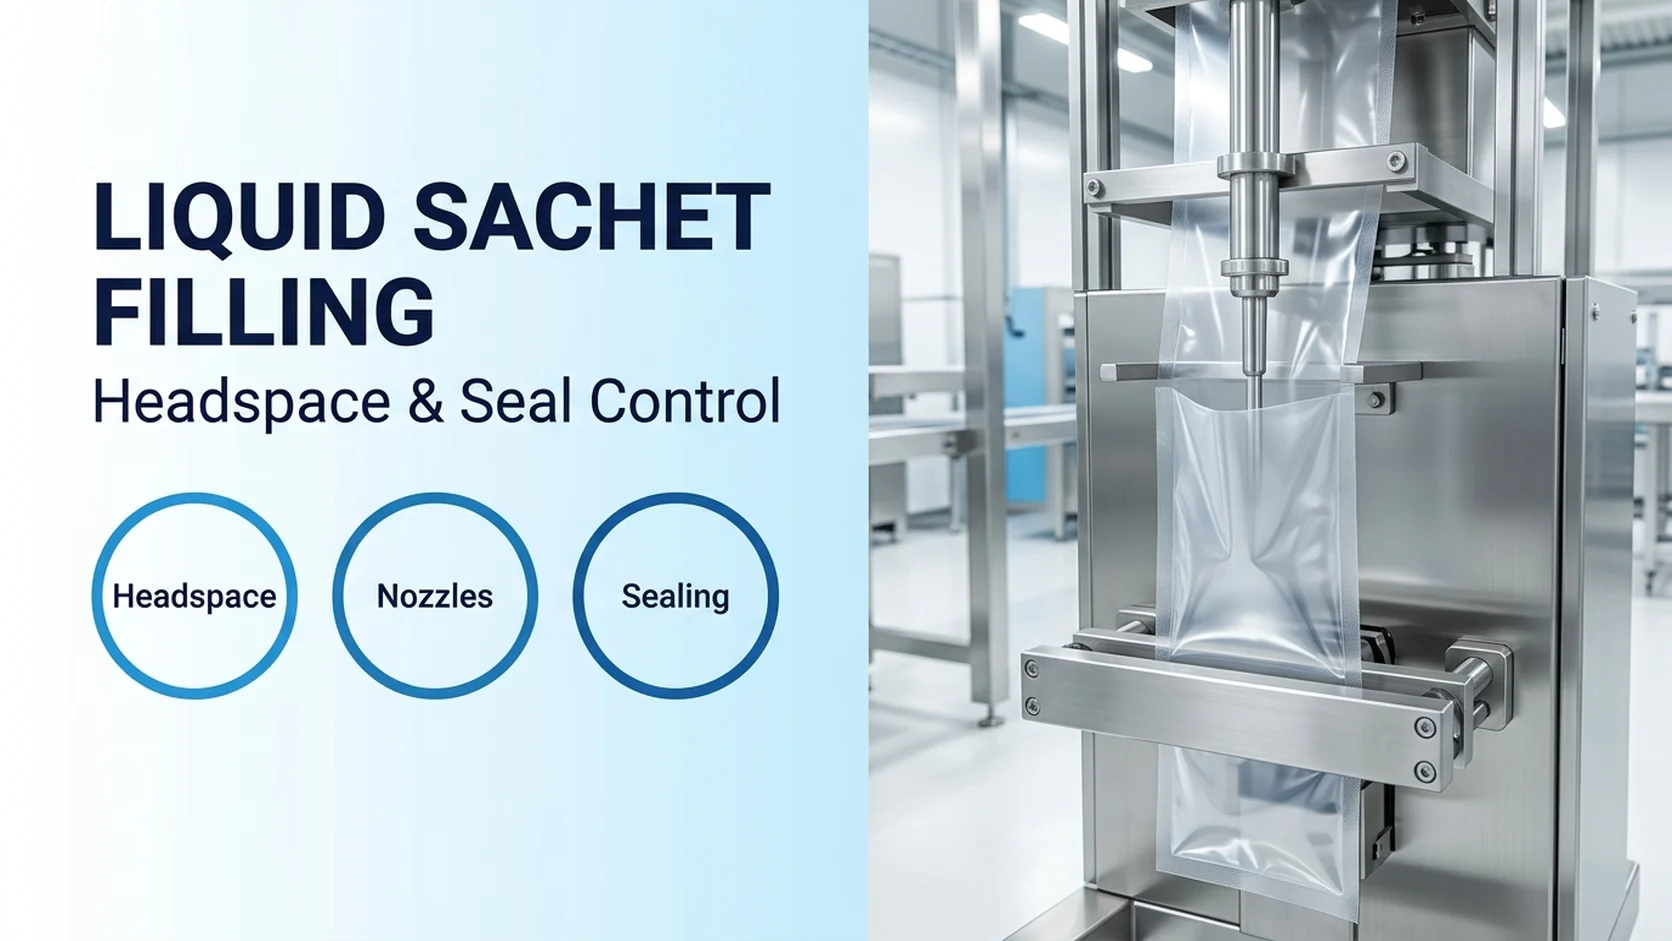
At Automatic Filling Machine, we configure liquid sachet filling machines by engineering sachet seal geometry, pre-seal liquid clearance, nozzle cut-off and cross-seal jaw control as one coordinated system. Metering and nozzle behavior must be matched together because an accurate dose that splashes, trails from the outlet, or leaves residue in the seal zone still causes leakers. When we review your sachet brief, we map how the liquid stream enters the open film pocket, where the liquid meniscus sits when the horizontal jaws close, and how each completed sachet is verified during factory acceptance testing (FAT).
A three-side seal sachet is typically formed from one film web folded to create one closed edge, while the other three edges are heat sealed. A four-side seal sachet is typically formed from two film webs placed face to face and sealed around all four edges. A back-seal sachet is formed by wrapping film around a forming section, creating a longitudinal rear seal, and adding top and bottom cross seals. Start your broader equipment comparison on our liquid filling machines page, and review the four-side-seal workflow on our sauce sachet filling machine page when preparing your package drawing.
In a back-seal VFFS cycle, after dosing and film advance, the horizontal jaws form the top seal of the filled sachet and the bottom seal of the next pouch in the same stroke. During sample trials, our engineering team documents the web path, dosing window and cross-seal jaw timing together on the trial sheet.
Trace how splash, cut-off drip and paste stringing reach the cross seal
Powder dust, liquid droplets, or paste in the sealing area can interfere with reliable seal formation. During the filling process, splashing of the liquid could cause contamination in the seal area, and the presence of the liquid-based product may prevent the full formation of the seal during heat sealing. When evaluating sachet liquid filling equipment, observe the inner film wall above the liquid surface before the jaws meet, and record whether droplets bounce upward during dispensing.
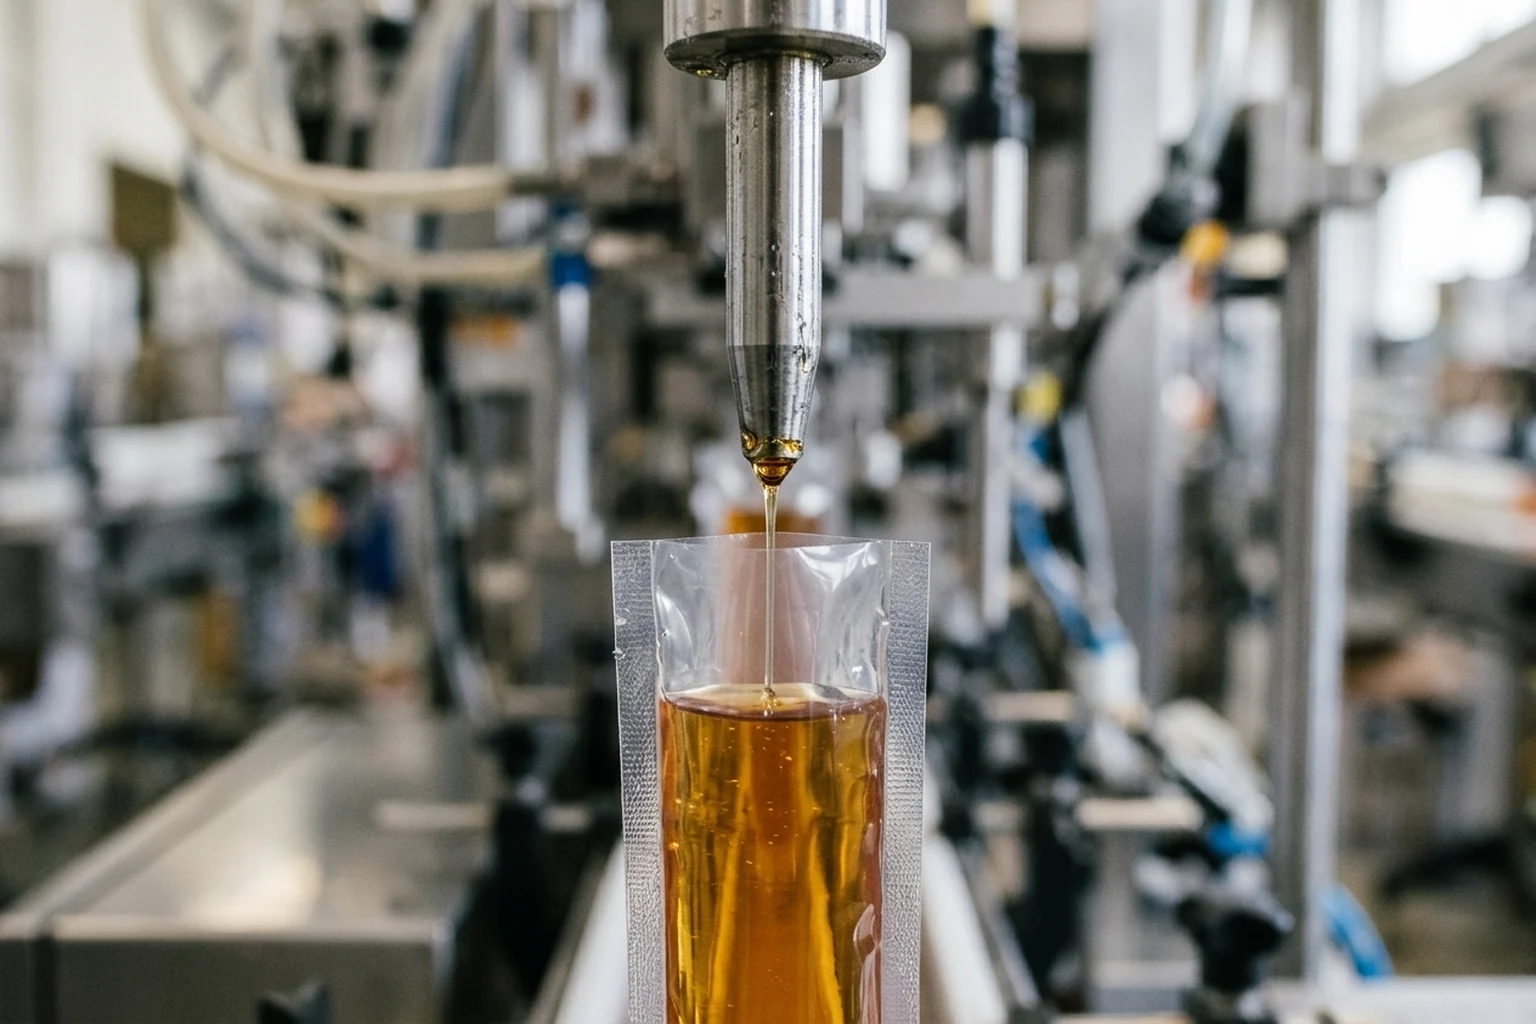
On poorly designed systems, liquid continues to drip from the nozzle after cut-off, landing on the film at the seal zone and contaminating the seal before the jaw closes. Drip after cut-off creates a weak seal for water and thin sauces, and creates a string of product that bridges the seal entirely (angel hair) for honey and high-viscosity pastes. Include a slow-motion observation of the nozzle tip at the end of the dispensing stroke so the trial record separates impact splash from post-cutoff stringing.
A seal that holds perfectly against powder will fail against a liquid product under transport pressure because liquid transmits pressure uniformly in all directions. Do not carry dry-product seal assumptions into a liquid sachet project. Ask for filled sachets to be inspected around the entire perimeter after compression and handling checks rather than relying on visual appearance alone.
Match nozzle suck-back, inlet sizing and hopper level control to viscosity
Stopping sauce from dripping onto the sachet seal requires positive shut-off and suck-back control at the nozzle tip, not just portion weight accuracy. On our servo-piston and rotary-valve liquid sachet configurations (5–100 ml standard range, with selectable 19 / 25 / 32 / 38 / 51 mm manifold inlets matched to viscosity and particulates), a timed suck-back stroke draws residual liquid back from the nozzle tip before the filling head retracts and the cross-seal jaws close.
Viscosity directly governs splash behavior, settling time and cycle rate across liquid sachet lines: low-viscosity liquids (water, vinegar, soy sauce — 1–100 cP) run at 40–50 bags/min per lane on small fill volumes but require low-velocity nozzle entry to prevent upward splash; medium-viscosity condiments (ketchup, salad dressing, jam — 500–5,000 cP) thicken when cold and run at 25–40 bags/min with positive nozzle shut-off to prevent stringing; and high-viscosity pastes (honey, thick paste, gels — 5,000–50,000 cP) run at 15–25 bags/min because they do not self-level after dosing, so any product touching the upper film wall remains in the seal band.
Because honey flows differently at 15°C than at 35°C and ketchup changes head pressure as a hopper empties, our multi-lane liquid sachet machines (4–12 lanes, 30–45 cycles/min, 1–150 ml dosing with piston, ceramic or peristaltic pumps, up to 180 mm × 120 mm sachet size) integrate an automatic hopper level sensor and optional jacketed heating/agitation to hold constant head pressure across the shift. Compare condiment handling details on our sauce and condiment filling page, and review our net-weight versus volumetric filling guide when linking density and temperature records to your dosing audit.
Compare free-space headspace allowance with squeeze-roller stripping
On vertical liquid baggers where cross-seal timing follows product drop, seal contamination occurs if the fill volume occupies too much of the bag length. Our servo-driven horizontal jaw assemblies monitor jaw closure torque to flag product trapped in the seal zone and can leave contaminated packs unsevered as a chained pair for downstream rejection. A quick bench check on pillow sachets is to lay the filled pack flat and press the center until your finger just touches the table surface to verify headspace margin.
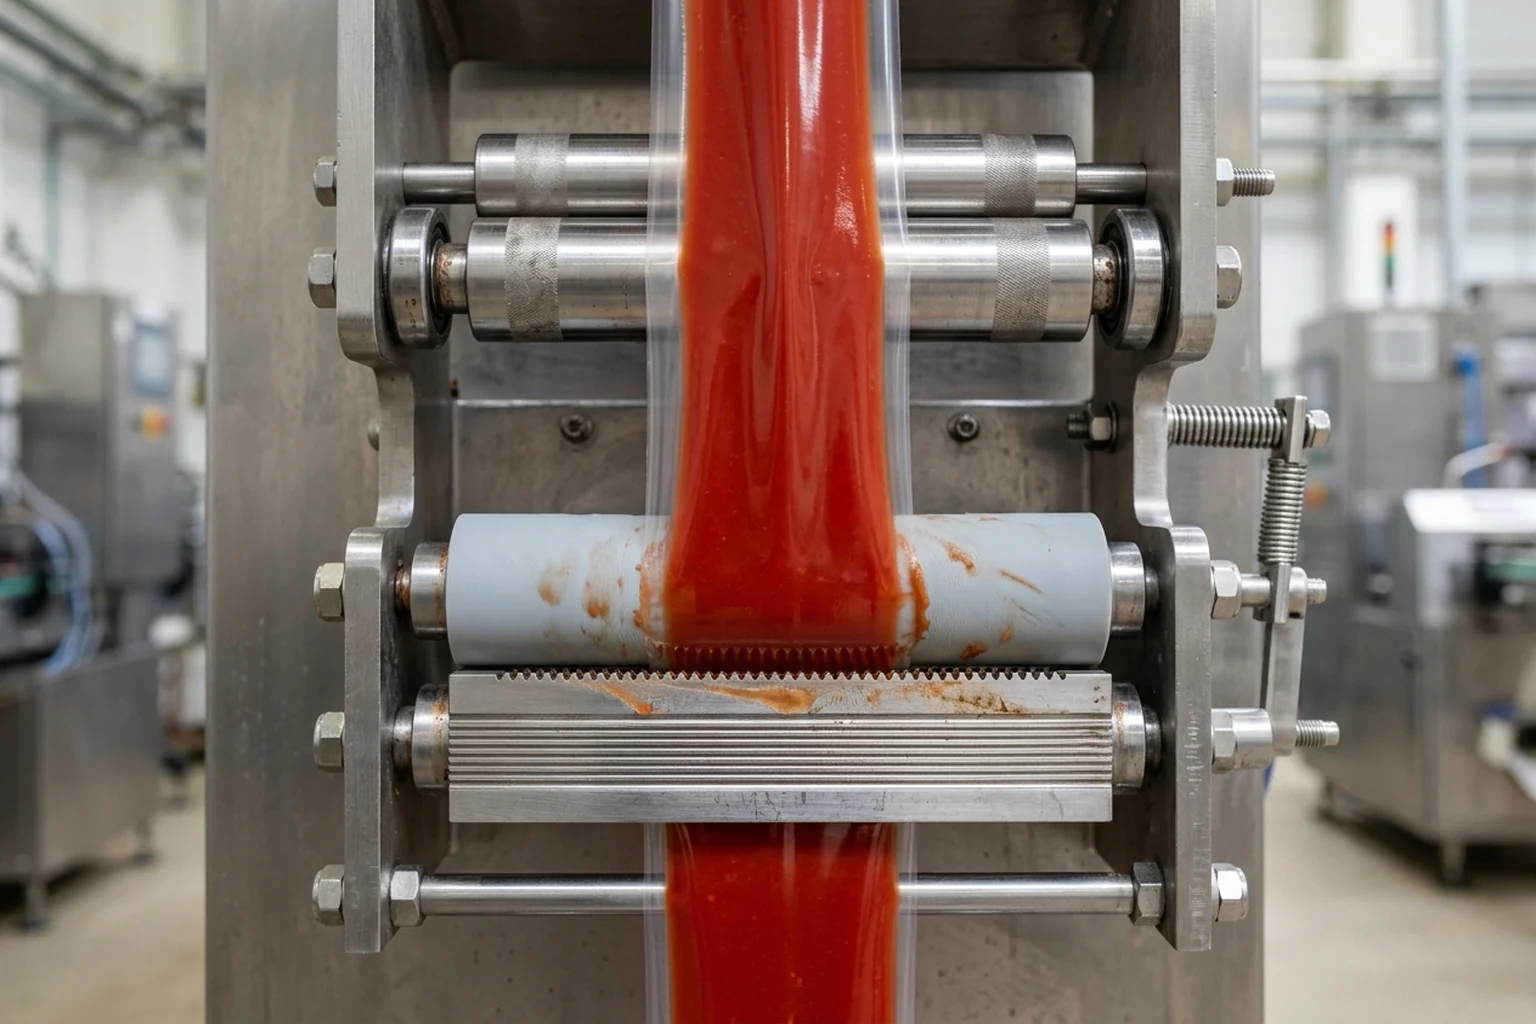
For low-headspace foodservice and institutional sachets, dual squeeze rollers mounted above the horizontal sealing jaws strip product and air from the upper seal band after dosing and before jaw closure, reducing headspace air and shortening film cutoff length. During machine setup, we configure either a free-space headspace allowance (for retail sachets that need cushion volume) or servo squeeze-roller stripping (for compact case packing).
In a dual squeeze-roller station, upper staging rollers pre-wipe the film path while servo-driven lower squeeze rollers meter the pouch profile to within ±0.5%–1.0% on smooth liquids and ±1.5% on small-particulate sauces. Technicians verify roller parallelism during preventive maintenance by drawing a feeler strip between the closed rollers to confirm uniform friction across both ends.
Balance hot tack, seal width pressure and jaw temperature consistency
Hot tack refers to the strength of a seal while it is still warm, and packages have little or no strength until seals have cooled below the melting point of the sealant layer. Poor hot tack presents as mooning or complete failure of a seal that has been stressed while it is still too warm, and hot tack problems are often caused by sealing temperatures that are set too high. The best method for improving hot tack is to reduce temperature settings so that the sealant layer cools below its melt point more quickly, with a compensating increase in dwell time, pressure, or both. When liquid loads the cross seal immediately after jaw opening, record jaw temperature, dwell time and pressure together rather than raising heat in isolation.
Hot tack strength testing as per ASTM F1921 (method B) measures the strength of heat seals immediately after formation, before they cool to room temperature. Ultimate seal strength testing of thermoplastics per ASTM F88 measures the tensile strength of the seal at ambient temperature using a rectangular specimen whose width may be either 25 mm, 15 mm, or 1.00 inch. Request both warm-seal and cooled-seal verification data from your film supplier when qualifying a new laminate for sachet filling machine liquid production.
Sealing jaw pressure is the force that the sealing jaws apply to the film, and this force moves the melted sealant layer into any open channels created by overlapping layers of film and caulks off potential leaks. On a 200 millimeter wide package with a 24 millimeter total seal width, the sealing force is distributed across 4,800 square millimeters, whereas if the total seal width is reduced to 12 millimeters, the sealing pressure is concentrated into 2,400 square millimeters so each point receives twice as much sealing pressure. Review the cross-seal width and serration profile on your sachet drawing so the available jaw force caulks lap or gusset transitions without crushing the film.
Inspect jaw build-up with carbon impressions and evaluate ultrasonic or biofilm sealing
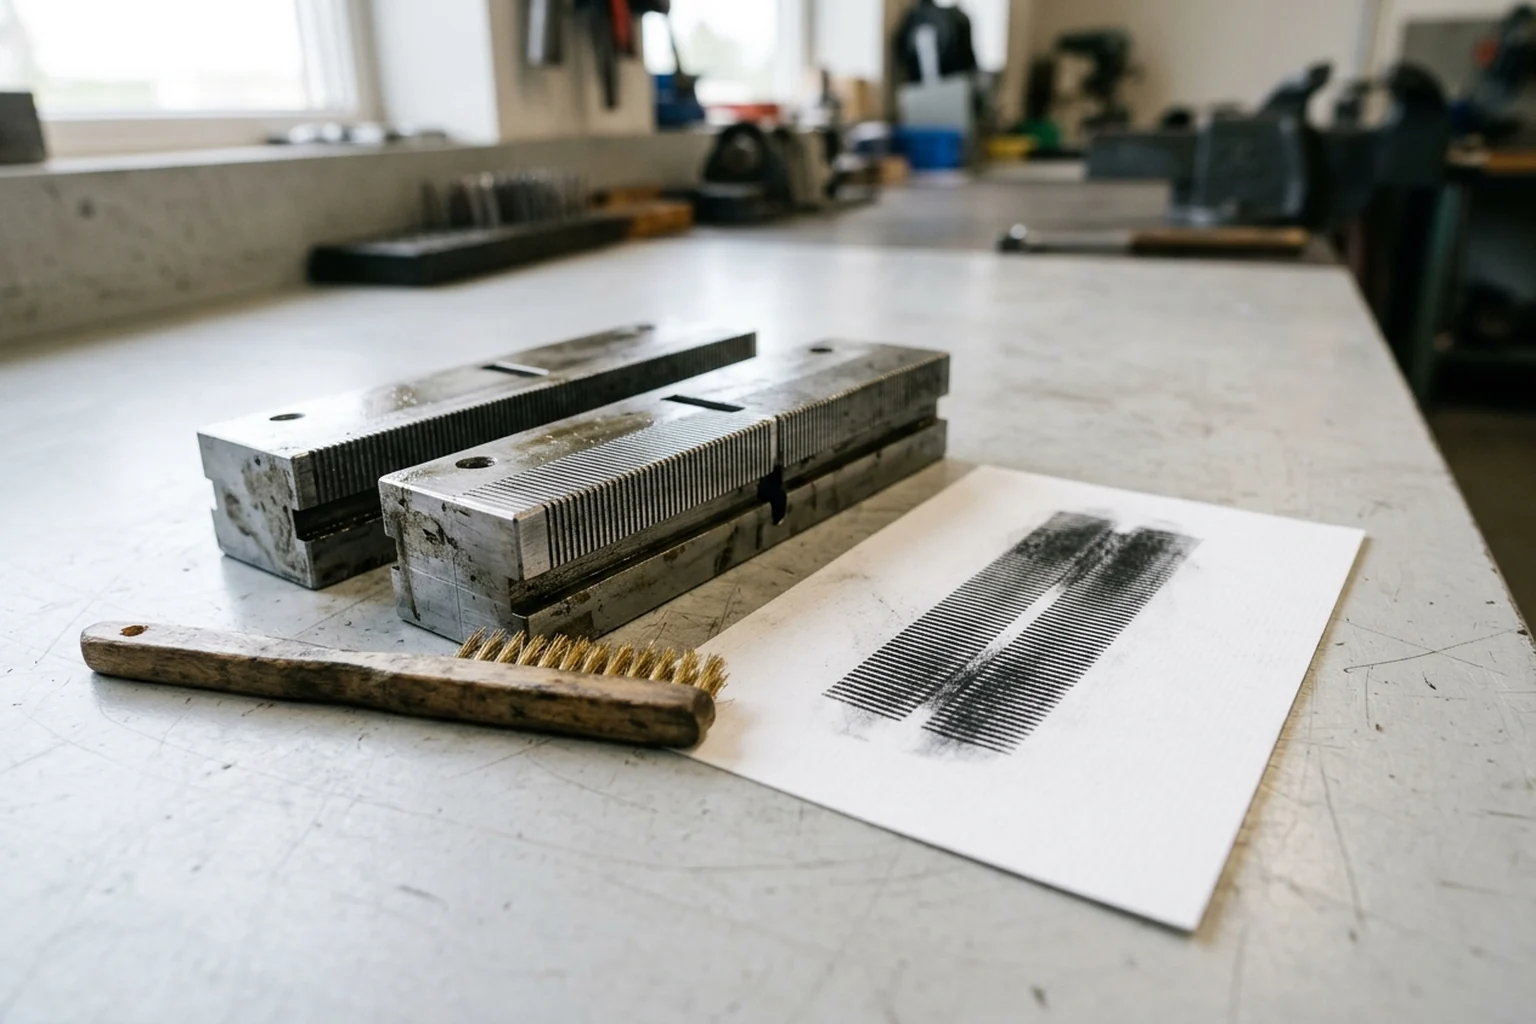
Even minimal product coatings on crimpers and sealing jaws can impede heat transfer, while users of Dura-Therm crimpers and jaws report temperature readings within +/- 3° F across the sealing face and have been able to lower their temperature settings by 10 – 15%. In Greener Corporation's troubleshooting example, carbon impressions taken after nine of ten packages failed a seal quality test showed extensive sealing jaw contamination, and after the jaws were cleaned, the failure rate went down to zero. Sealing jaws should always be cleaned in the direction of the serrations using Kevlar scrapers or brass and nylon brushes to avoid damaging the sealing face, and knife slots should be cleared of product contamination. Add carbon-impression checks and serration-direction cleaning tools to your shift sanitation checklist before blaming the film roll for leakers.
Ultrasonic sealing converts electrical energy into high-frequency mechanical vibration (typically 20, 30, or 35 kHz) with vibration amplitudes of 9–35 μm, vibrating product residue out of the seal nip and generating localized heat inside the sealant layer. On a four-lane liquid filler running 60 cycles/min, upgrading from conventional heat jaws to ultrasonic cross-sealing can reduce top-seal leakers from 40–200 per 100,000 pouches down to ~1 per 100,000 while cutting daily film waste by over 95%. When we evaluate your liquid and laminate samples, we recommend either profiled heat jaws or ultrasonic sealing based on your contamination risk and target line speed.
Whether your project uses conventional PET/ALU/PE or PET/PE laminates or compostable cellulose/biofilm structures, schedule a sample testing assessment with your actual liquid and roll stock, and send your sachet brief through the inquiry panel below.
Sources
- Automatic Filling Machine — Liquid Filling Machines & Multi-Lane Sachet Engineering Specifications
- Automatic Filling Machine — Sauce Sachet Filling Machine Configuration Guide
- ASTM F1921 — Standard Test Methods for Hot Seal Strength (Hot Tack) of Thermoplastic Polymers and Blends
- ASTM F88 — Standard Test Method for Seal Strength of Flexible Barrier Materials
- Greener Corporation — Hot Tack, Seal Width Pressure, and Carbon Impression Troubleshooting
- Intertek — Flexible Barrier Hot Tack and Ultimate Seal Strength Testing
Common questions
What happens when liquid drips from the nozzle after cut-off in a liquid sachet filling machine?
Drip after cut-off creates a weak seal for water and thin sauces, and creates a string of product that bridges the seal entirely (angel hair) for honey and high-viscosity pastes.
How do you stop sauce from dripping onto the sachet cross seal?
Stopping sauce from dripping onto the sachet seal requires checking cutoff behavior, not just the portion weight, because trailing sauce or splashes near the opening can affect the seal even when the weight is right.
How do squeeze rollers reduce headspace and protect the seal zone on liquid VFFS machines?
Squeeze rollers clean the seal area of the film after filling but prior to sealing, and remove air from the bag for minimal headspace and reduced film usage.
How should sealing jaw settings be adjusted when warm cross seals fail under liquid load?
The best method for improving hot tack is to reduce temperature settings so that the sealant layer cools below its melt point more quickly, with a compensating increase in dwell time, pressure, or both.
How should contaminated serrated sealing jaws and knife slots be cleaned?
Sealing jaws should always be cleaned in the direction of the serrations using Kevlar scrapers or brass and nylon brushes, and knife slots should be cleared of product contamination.
What to send us
Swipe to compare all columns.
| Item | Why we need it | Example format |
|---|---|---|
| Liquid viscosity and temperature profile | Review splash, post-cutoff stringing and hopper head-pressure behavior across the run. | Viscosity range with temperature conditions and product sample |
| Sachet format, dimensions and film structure | Coordinate cutoff length, seal width pressure and hot-tack window with the closing jaws. | Dimensioned sachet drawing and laminate specification sheet |
| Target fill quantity and measurement basis | Align volumetric or pump dosing with nozzle suck-back and pre-seal clearance. | Portion target with volume or weight verification method |
| Cross-seal inspection and acceptance criteria | Define how finished sachets will be checked for seal contamination and leakage. | Compression check, carbon-impression schedule or lab peel method |
We reply within 24 hours.